LEGO Technic - Tow tractor and luggage cart

This is the story of my first Lego Technic build after a pause of 20
years. As I got back into Lego after such a long pause, I bought a few
sets, disassembled them and got to thinking about what I wanted to
build. I got the 42030, 8264 and 42009, which seemed to be good sets for
parts. As I disassembled these, I got to know about the studless way of
building. It looked very different to what I had played with in the
past, and I found that there was a much wider variety of parts compared
to before.
With this in mind, I thought that I should start off with a nice easy
project to learn about and get used to studless building. However, I did
want to try out the power functions with remote control. My first
thought was a forklift. After spending a few unsuccessful hours trying
to get started, however, I realized that I needed a simpler project to
start on. This is where I decided on a simple remote controlled tow
tractor and luggage cart, like you would see at an airport. The only
functions to worry about would be driving, steering and doors. My only
objective for the model was for it to look halfway decent and be able to
drive.
I selected the 62.4 wheel with yellow rims as the starting point. I then
printed out the blueprint of a tractor I found, in scale with that
wheel. The print looked much bigger than I expected. The only other
wheels that I had at the time were the 94.3 wheels from the 42030
loader, these were clearly not a realistic option. I went ahead with the
62.4 wheel, not realizing at the time how much bigger this model would
end up, compared to what I had wanted to build. The color scheme pretty
much decided itself, as I had abundance of yellow pieces.

I started building the chassis, with an XL motor to drive and a servo
for the steering. Building studless was a completely new experience at
this point, and I had no idea what I was doing. While looking at the
specs for such a tow tractor, I had noticed that it had a really tight
turning circle. I incorporated that into the model, making sure that I
had enough clearance around the front wheels to turn. The AA battery box
was quite bulky, and I had a hard time finding a good place for it. I
decided to have it over the rear axle with a "boot" for easy access. I
used the small curved panels on the "boot lid" and wanted a good
solution to not have huge gaps at the corners. After spending an
enormous amount of time trying out different solutions, I was quite
happy with the final result.


After solving the "boot lid" and the back corner, I started to build up
to the front. This is where I started to realize how big this thing was
going to end up. As this was my first project, I decided to just push
on and finish the project, instead of redesigning the whole thing with
smaller wheels. Initially I had just planned on making some seats and a
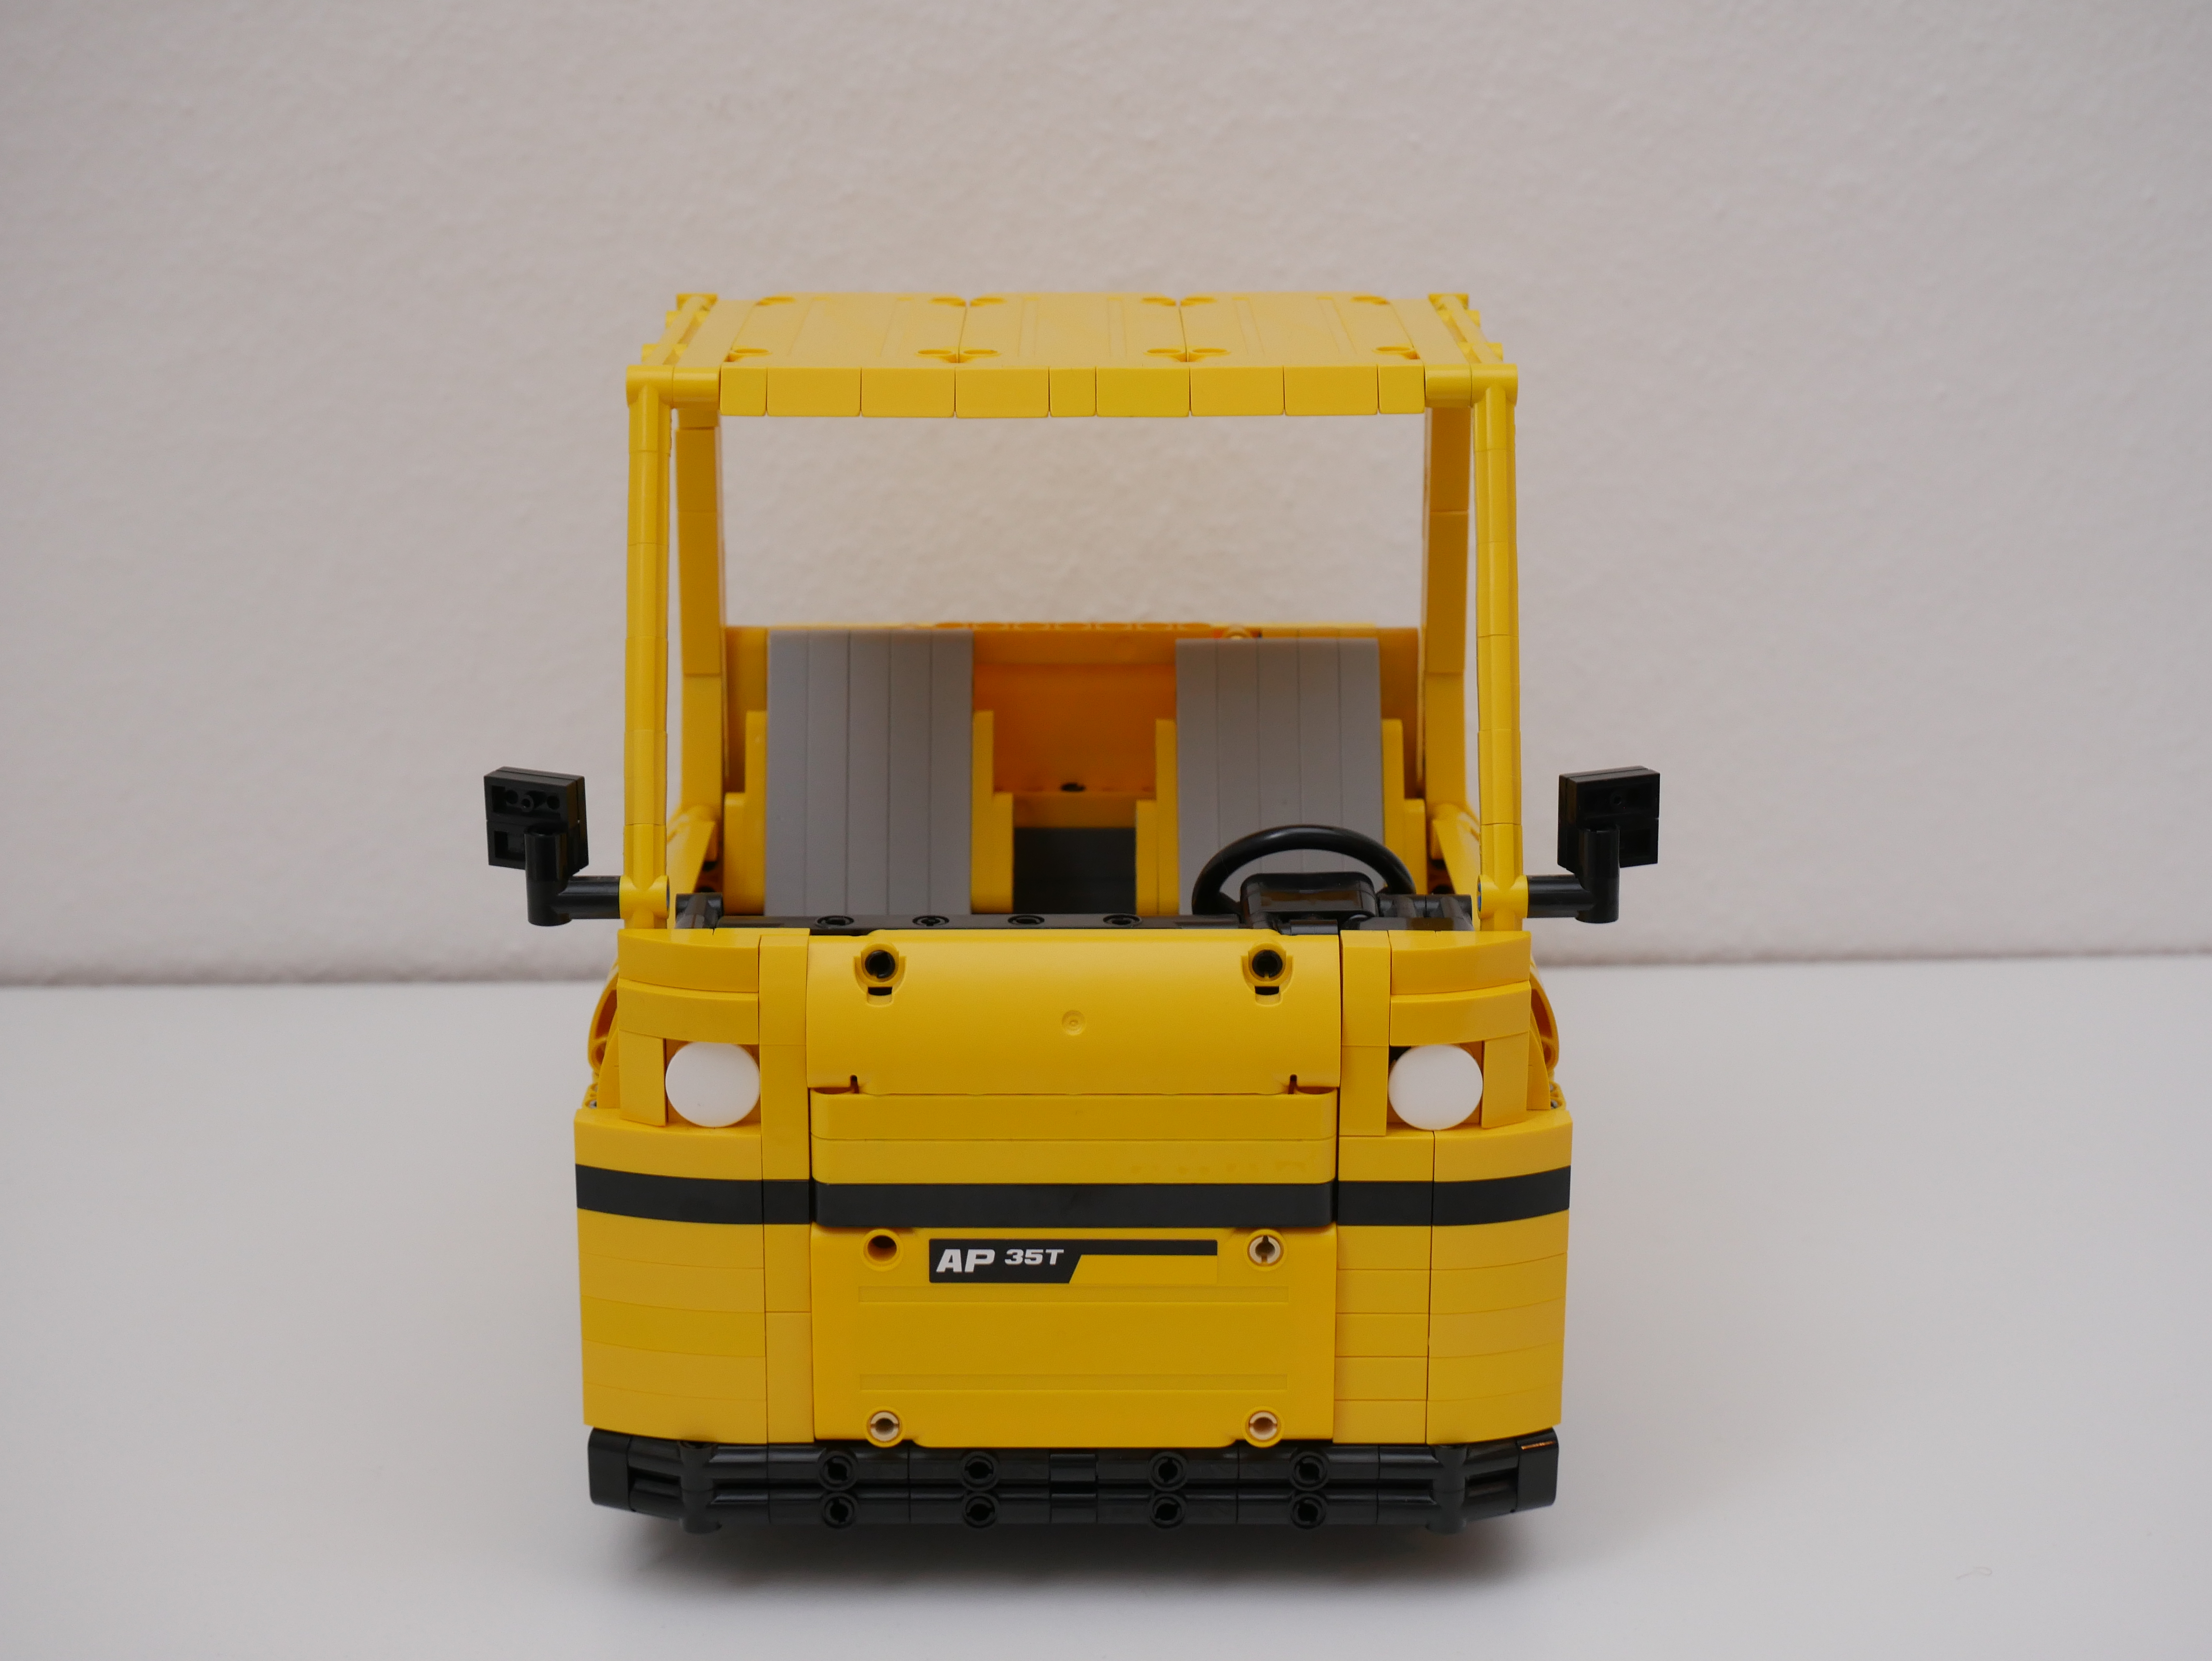
steering wheel, and call the cabin done. As I started building the front
part of the tractor, I realized that I needed a lot more, or the model
would end up with huge, ugly holes.
I also realized at this point that I needed to have the steering wheel
turn with the front wheels, even though I had not planned it that way.
It was quite large and visible up at the front of the vehicle. I had a
large model with not many functions, so not having the steering wheel
hooked up was a crime, as far as I was concerned. Fortunately, I was
able to use the second output of the servo and come up with a way to
hook it up without too much redesign.
After that was solved, I worked on the cabin floor, in two parts: the
floor itself, and the area above the front axle. After that, I made some
simple seats and attached those. After the seats, it was on to getting
the front finished and a reasonable looking dashboard put in. I think I
started out at least 5 times, each time with a different idea, only to
tear it down every time and start from scratch. Anyway, I'm glad I did,
because the final dashboard came out very nice. Funny enough, it is
actually my favorite part of this model.

With the tractor finished, it was on to the luggage cart. I wanted to have just two features: side panels that could be folded down to open, and brakes that would be engaged when the tow bar was flipped up. It took some experimentation, but it worked out nicely. I originally wanted to build 2 or 3 of these carts, but did not have enough parts to do it.

Finally, here are the tractor and the cart together.
Could it have been better? Sure, I made many mistakes along the way, and
did not always focus on the details, to be able to finish it in a
reasonable amount of time. It was quite heavy and underpowered for its
size. However, for me, this model was all about getting back into Lego
and finishing my first project. From that point of view, it was
definitely a success.
I do plan on building a smaller scale version of this at some point in
the future. That should mean that I have enough parts to build more than
just the one luggage cart :)
In the meantime, here are some more pictures of the finished model.


Comments
Post a Comment